


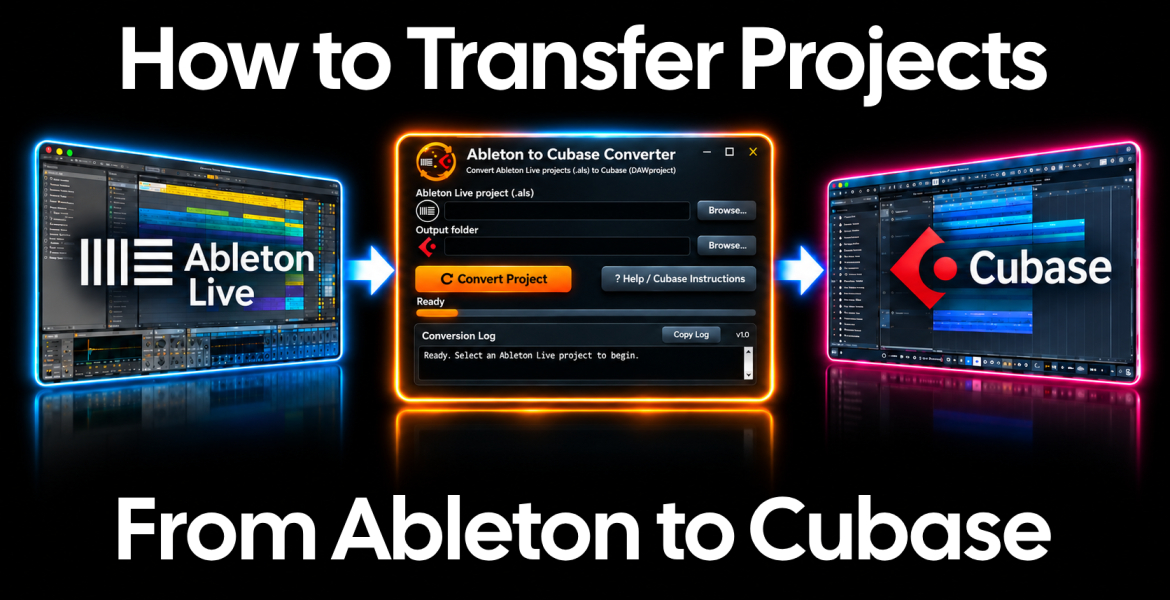
Moving a music project from Ableton Live to Cubase isn’t always as straightforward as transferring a few audio files. A typical session may contain MIDI tracks, virtual instruments, effects, automation and complex routing, all of which need to be considered if you want to continue working on the same production in another DAW.
Fortunately, there are several ways to transfer Ableton projects to Cubase, depending on how much of the original session you need to preserve. Some methods require rebuilding parts of the project manually, while others can handle much of the conversion automatically.
Manual Transfer vs. Automatic Project Conversion
The traditional way to move a project between DAWs is to export individual audio tracks, often called stems, from the original session. These can then be imported into Cubase and arranged on the timeline. It’s a reliable approach when you mainly need to continue mixing or mastering, but it comes with an obvious limitation: instruments, MIDI notes and most plugin settings are no longer independently editable once they’ve been rendered to audio.
Exporting MIDI files offers more flexibility, particularly when you want to keep working on melodies, basslines or drum patterns. However, MIDI only carries the musical performance data, not the original instrument sounds or effect chains. You’ll still need to load suitable instruments in Cubase and recreate any processing that was part of the Ableton project.
Automatic project conversion offers a different approach. Rather than rendering everything to audio, a converter can read the original Ableton Live project and translate supported elements into a format Cubase can import. This can preserve much more of the session’s structure, including MIDI, audio tracks, compatible plugins and automation, reducing the amount of manual reconstruction required.
Neither method is perfect for every project. A simple audio-based session may be quicker to transfer manually, while a larger production with numerous instruments, groups and automation lanes can benefit considerably from automatic conversion. Even then, some Ableton-specific devices and plugin settings may need attention after the project has been opened in Cubase.
How to Transfer Ableton Projects to Cubase Using a Converter
DAW project conversion has come a long way in recent years. What once required hours of exporting tracks, recreating instruments and rebuilding arrangements can now be handled largely through automated conversion. Modern conversion tools can preserve much of the original project’s structure, including supported MIDI tracks, audio, VST3 instruments and effects, automation, and routing information.
One latest solution is Ableton to Cubase Converter, a Windows application that converts Ableton Live 10, 11 and 12 project files (.als) into Cubase-compatible DAWproject files. Rather than starting from scratch, you can bring much of your existing production into Cubase and continue working with its editable elements.
The process involves just a few steps:
Select your Ableton project. Open the converter and choose your original
.alsfile, making sure any referenced audio samples are available.Run the conversion. The application analyzes the project and generates a
.dawprojectfile containing the supported tracks, instruments, effects and arrangement data.Import into Cubase. Import the converted DAWproject file into an empty Cubase project.
Save your session. Once imported, save the project in Cubase’s native
.cprformat.
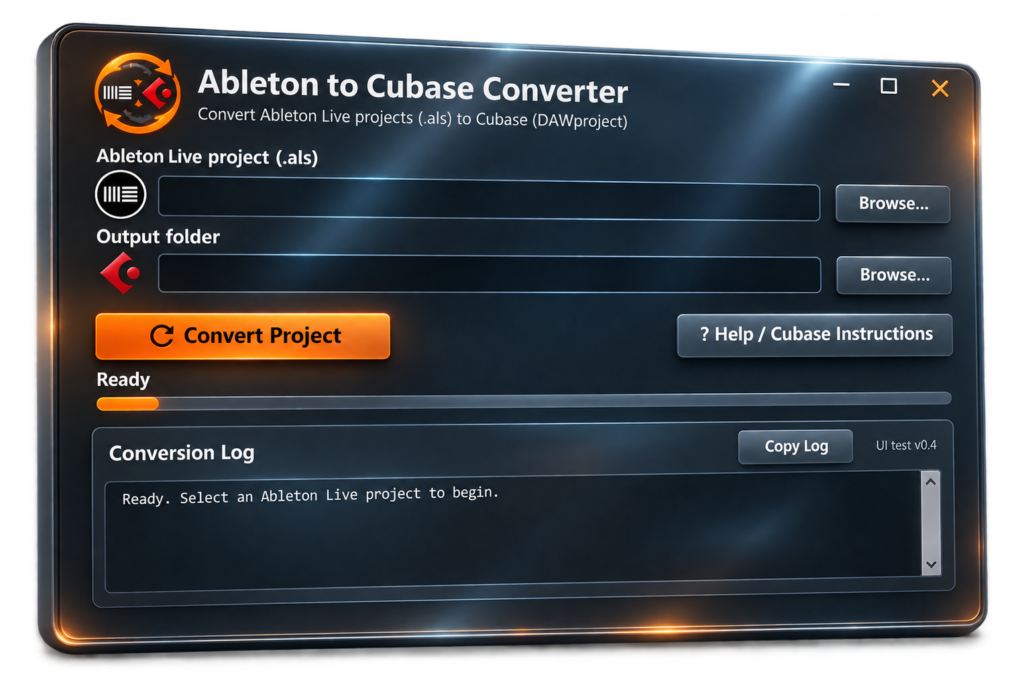
The main advantage is that you’re not limited to working with rendered audio. Supported MIDI parts, plugin instances, automation and track structures remain editable, allowing you to pick up where you left off with considerably less manual work.
Of course, some Ableton-specific devices and unsupported plugin configurations still require rebuilding manually in Cubase. We’ll look at how to handle those devices in the next section.
See the converter in action:
Reconstructing Unsupported Plugins and Ableton Devices
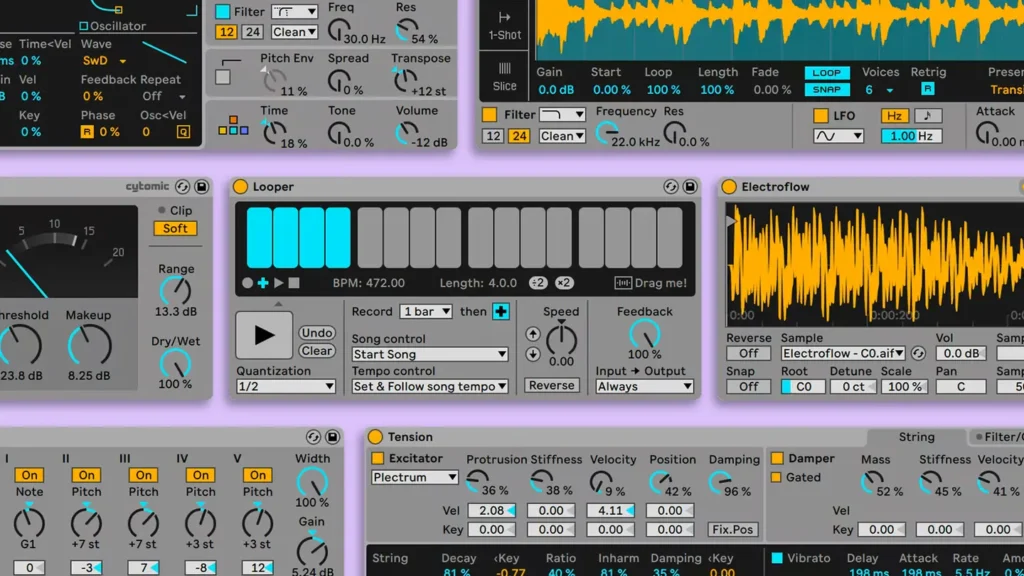
Even with modern project conversion tools, some parts of an Ableton Live session may need to be recreated manually in Cubase. This is particularly common with Ableton’s built-in instruments and effects, which don’t have direct equivalents in other DAWs, as well as certain third-party plugin configurations.
When you transfer Ableton projects to Cubase, VST3 plugins generally offer the best chance of transferring successfully, provided the same plugins are installed on your computer. However, older Ableton Live projects often rely on VST2 plugins, and their settings or presets may not transfer correctly. In some cases, a plugin may appear in Cubase but load with its default sound instead of the original preset.
The most practical solution is to open the original Ableton project alongside the converted Cubase session, if Ableton is still available. Check the instruments and effects that need attention, then recreate their settings using the corresponding plugins in Cubase. If a preset can be saved or exported from the original plugin, importing it into the Cubase instance is usually much quicker than rebuilding the sound manually.
Ableton-specific devices require a slightly different approach. Instruments such as Operator or Wavetable cannot simply be loaded as native devices in Cubase. The same applies to Ableton’s built-in audio effects. Depending on the sound you’re trying to preserve, you can replace them with comparable VST instruments or effects, recreate the processing manually, or export the affected track as audio from Ableton.
What May Require Manual Reconstruction?
Before continuing work in Cubase, check the following elements of your converted project:
- Ableton-native instruments:
Devices such as Operator, Wavetable and Analog need to be replaced with compatible instruments or rendered to audio.
- Ableton-native audio effects:
Built-in EQs, compressors, delays and reverbs may need equivalent Cubase or third-party effects.
- VST2 plugins and presets:
Older plugins may require manual replacement or preset restoration, even if the plugin instance is recognized.
- Missing third-party plugins:
Plugins not installed or available in Cubase must be installed, substituted or recreated.
For particularly complex sounds, rendering the original track to audio may be the safest option. This preserves the audible result even when the underlying devices cannot be transferred.
The aim isn’t to rebuild the entire production from scratch. In many cases, only a few instruments or effects need attention, while the rest of the arrangement remains ready for further editing in Cubase.
Fixing Volume, Routing and Automation Differences
Even when tracks, instruments and effects transfer successfully, a converted project may not sound exactly the same in Cubase as it did in Ableton Live. Differences in gain handling, plugin processing and track routing can affect the overall balance of a mix, so it’s worth checking a few things before continuing your production.
Volume and gain levels
After you transfer Ableton projects to Cubase, start by comparing the levels of your main instruments, drums and audio tracks. Ableton’s Utility device, for example, may have been used to adjust gain before the signal reaches other effects. If that adjustment isn’t reproduced in Cubase, the track could end up noticeably louder or quieter.
Check both the channel faders and any gain adjustments within the original effect chains. A difference of just a few decibels can change how compressors, saturators and other level-sensitive plugins respond.
Group tracks and routing
Next, check that your tracks are routed to the correct groups and that the groups feed the intended outputs. Pay particular attention to drum buses, layered instruments and effects returns.
It’s also worth checking the master processing chain. Depending on the conversion method, effects originally placed on Ableton’s Master track may be represented differently in Cubase. Make sure the converted master processing is present and that the relevant tracks pass through it.
Automation
Modern conversion tools can transfer supported automation between DAWs, including track volume, panning and certain other parameters. However, automation linked to unsupported devices or plugin-specific controls may not behave as expected.
Play through sections where automation is particularly noticeable, such as filter sweeps, volume fades and effect transitions. Check that the automation lanes are present, the correct parameters are being controlled and the changes occur at the intended points in the arrangement.
A quick comparison with the original Ableton mix, or even a reference audio export, can help identify differences that aren’t immediately obvious from looking at the project. The goal isn’t necessarily to achieve a mathematically identical session, but to preserve the musical balance and behaviour of the original production as closely as possible.
Final Checklist for Your Converted Cubase Project
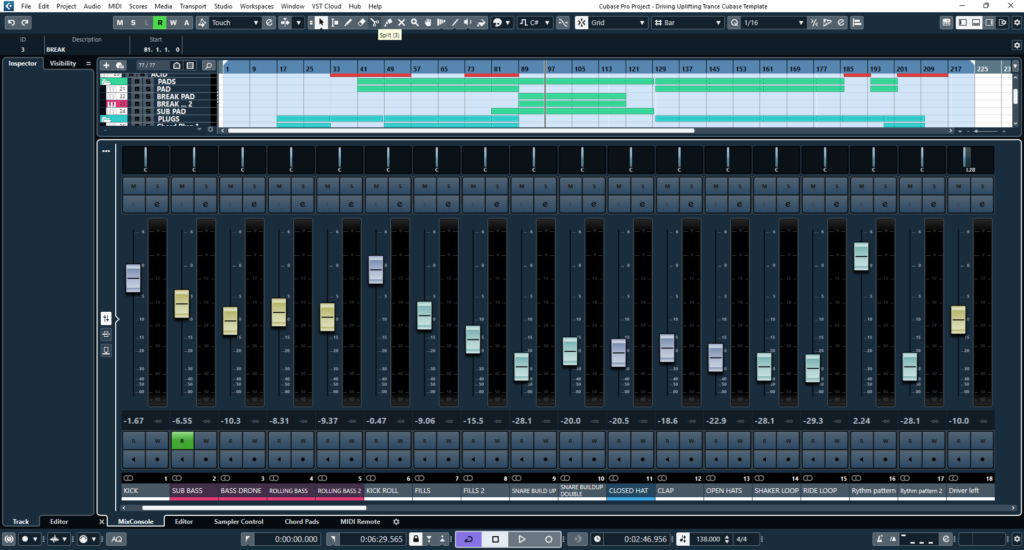
Before you start working on your converted project and transfer Ableton projects to Cubase, it’s worth spending a few minutes checking that everything is in place. Even a successful Ableton to Cubase project transfer may require a few adjustments to get the session sounding and behaving as intended.
Project Conversion Checklist
Audio tracks and samples: Make sure all audio files are present, correctly positioned and playing without missing-file warnings.
MIDI tracks and instruments: Check that MIDI notes, patterns and instrument assignments have transferred correctly, including repeated clips and loops.
VST plugins and presets: Verify that compatible instruments and effects load with the intended settings. Replace or reconstruct anything missing.
Ableton-native devices: Recreate unsupported instruments and effects using Cubase alternatives, third-party plugins or rendered audio.
Volume and gain levels: Compare track levels with the original project and correct any noticeable differences.
Group tracks and routing: Confirm that tracks, buses and effect sends are connected to the intended destinations.
Automation: Play through important transitions and check volume, panning and other transferred automation.
Master effects: Verify that master processing is present, correctly routed and producing the expected result.
Overall mix: Compare the converted project with the original Ableton version or a reference audio export.
Once you’re satisfied with the result, save the project in Cubase’s native .cpr format. It’s also a good idea to keep a backup of the original Ableton project and its associated samples, particularly if you plan to make further changes later.
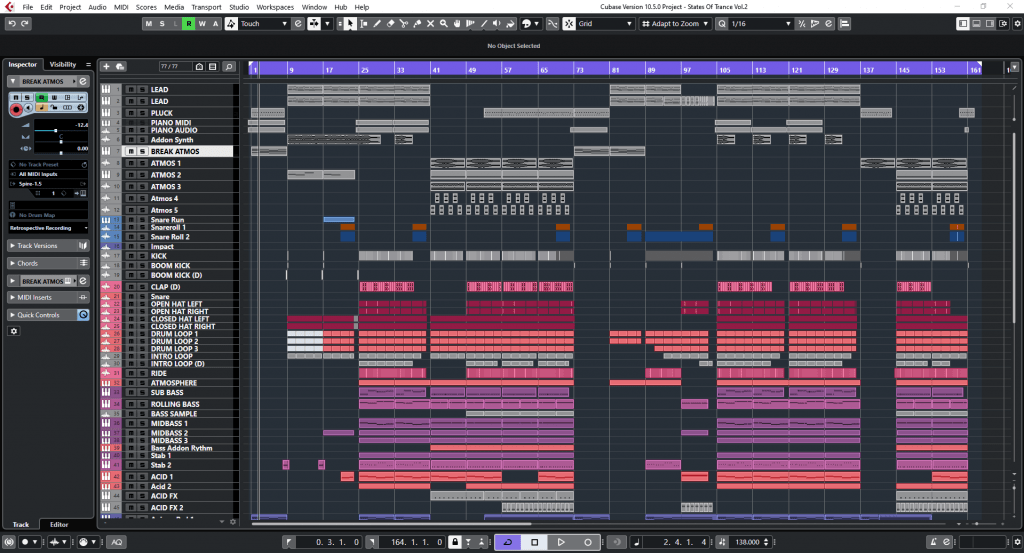
Conclusion
Transferring projects between Ableton and Cubase no longer has to mean rebuilding an entire production from scratch. With modern conversion tools, much of the original arrangement, including MIDI, audio, compatible plugins and automation, can be preserved.
While some instruments, effects and settings may still need manual adjustments, the process is considerably easier than traditional project transfers. With a little preparation and a final check in Cubase, you can spend less time reconstructing your session and more time making music.
Looking to get more out of Cubase? Whether you’re starting a new production, exploring different genres or looking for ready-made project arrangements, discover more resources to help improve your music production workflow.
🔄 Ableton to Cubase Converter
Moving from Ableton Live to Cubase? Convert your existing Ableton projects into editable Cubase sessions while preserving supported MIDI, audio, VST3 plugins, automation and routing.
Get Ableton to Cubase Converter →
🎹 Cubase Project Templates
Browse professionally created Cubase project templates featuring complete arrangements, instruments, effects and mixing techniques across a variety of electronic music genres.